#TL;DR
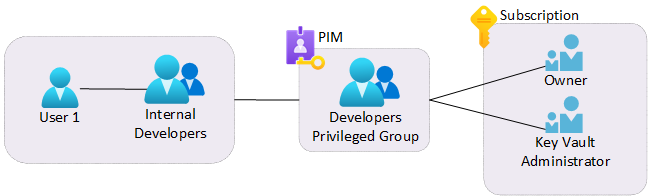
Privileged Access Groups in Microsoft Entra ID (formerly Azure AD) allow you to assign Azure AD roles and Azure resource roles to groups, and then use Privileged Identity Management (PIM) to manage just-in-time, eligible access to those groups. This simplifies role management and enhances security by reducing standing access.
#Overview
Managing privileged access at scale is one of the most critical challenges in identity security. Traditionally, you would assign roles directly to individual users and manage their PIM eligibility one by one. As your organization grows, this approach becomes increasingly difficult to manage and audit.
Privileged Access Groups solve this problem by allowing you to:
- Create a group that is eligible for one or more privileged roles
- Assign users as eligible members or owners of the group
- When a user activates their group membership through PIM, they automatically receive all the roles assigned to the group
- All activations are audited and can require approval, justification, and MFA
This approach significantly reduces the number of individual role assignments you need to manage and provides a cleaner, more auditable access model.
#Step-by-Step Guide
#Step 1: Create an Entra ID Group with Role Assignment Capability
First, we need to create a security group that is enabled for role assignment. This is a special type of group that can be assigned Azure AD roles.
- Navigate to the Microsoft Entra admin center
- Go to Identity > Groups > All groups
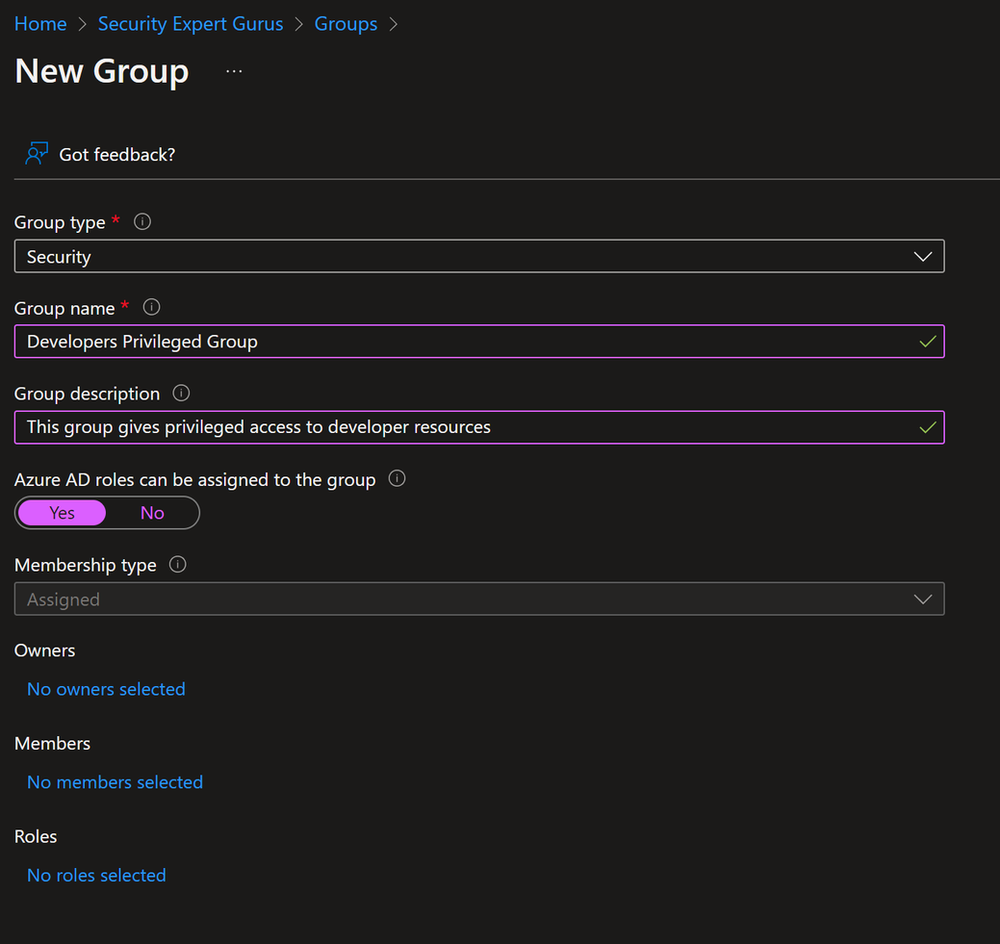
- Click New group
- Set the Group type to Security
- Enter a Group name (e.g., “PAG-KeyVault-Admins”)
- Enter a Group description
- Set Azure AD roles can be assigned to the group to Yes
- Set Membership type to Assigned
- Click Create
Important: The “Azure AD roles can be assigned to the group” setting can only be set during group creation and cannot be changed afterward. Make sure to enable this when creating the group.
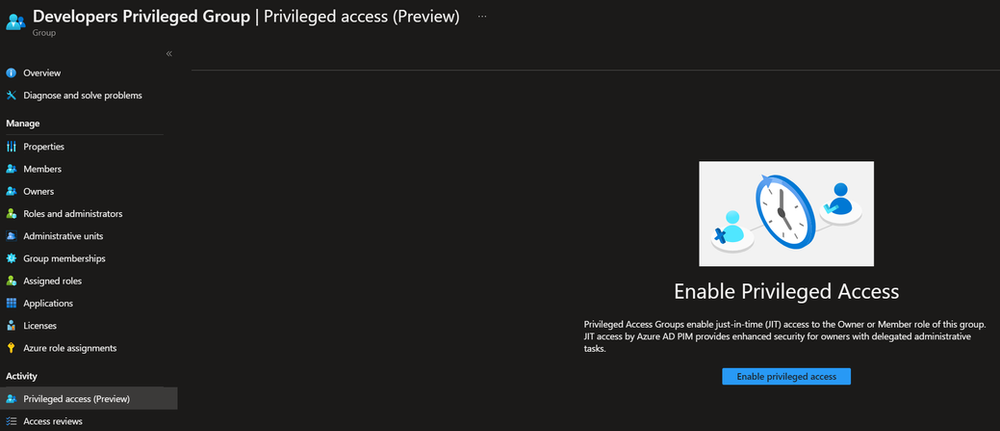
#Step 2: Enable PIM for the Group
Now we need to enable Privileged Identity Management for the newly created group.
- Navigate to Identity Governance > Privileged Identity Management
- Click Groups in the left menu
- Click Discover groups
- Find and select the group you just created (“PAG-KeyVault-Admins”)
- Click Manage

The group should now appear in the PIM Groups list, and you can manage its membership and ownership assignments through PIM.
#Step 3: Assign Owner Role to the Group
Assign an owner to the group who will be responsible for managing the group and approving activation requests.
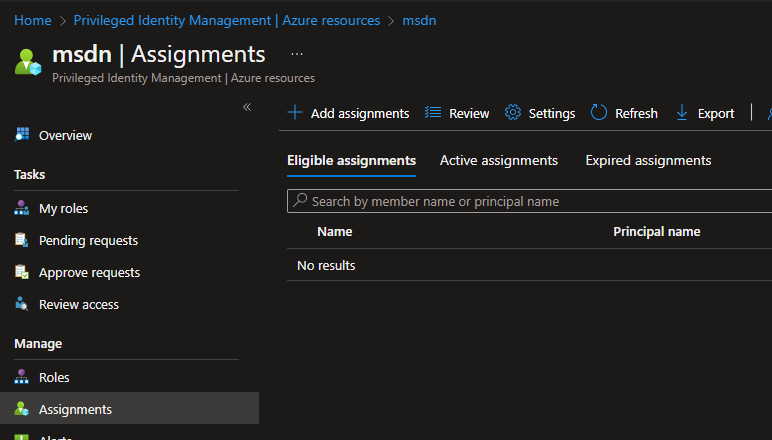
- In PIM, select the group
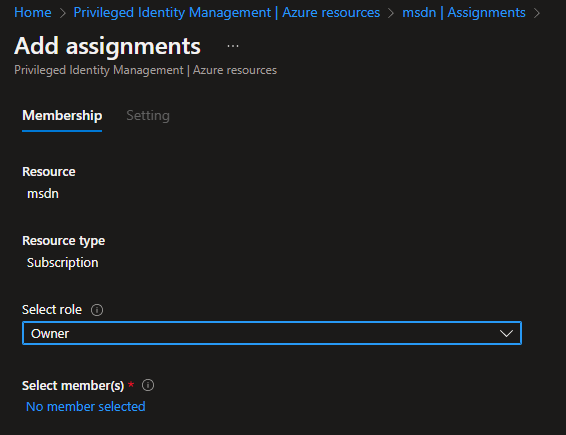
- Click Assignments > Add assignments
- Select Owner as the role
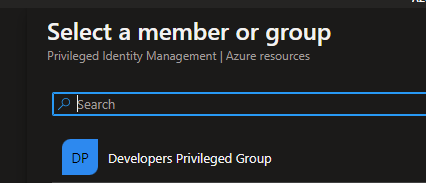
- Click Select members and choose the user who should be the group owner
- Click Next
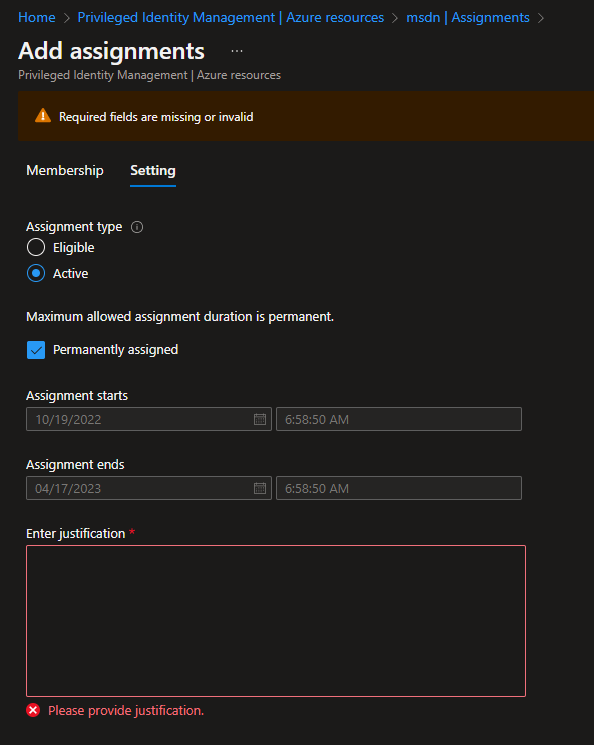
- Choose the assignment type (Active for permanent ownership, Eligible for just-in-time ownership)
- Click Assign
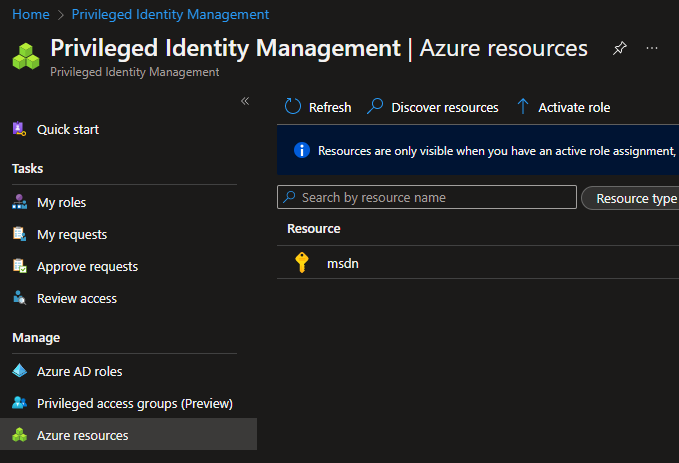
#Step 4: Assign Key Vault Administrator Role to the Group
Now assign the Azure role (Key Vault Administrator) to the group. This is the role that members will receive when they activate their group membership.
- Navigate to the Azure portal
- Go to the Key Vault resource (or the scope where you want to assign the role)
- Click Access control (IAM)
- Click Add > Add role assignment
- Search for and select Key Vault Administrator
- Click Next
- Select Group and find “PAG-KeyVault-Admins”
- Click Review + assign
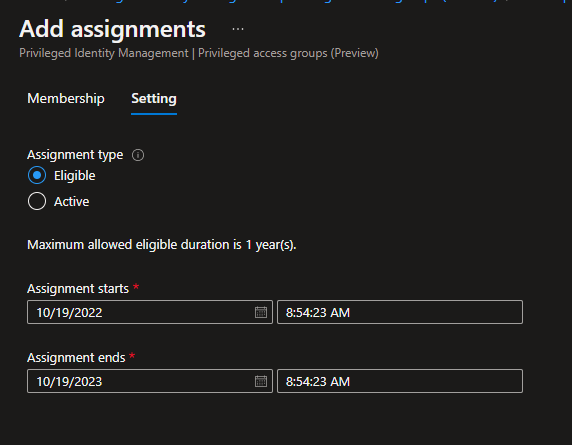
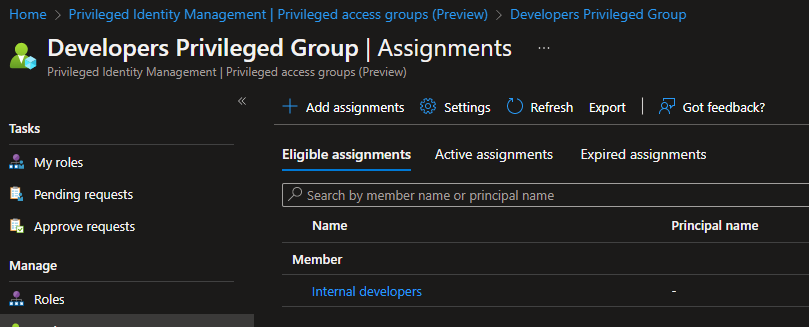
#Step 5: Create Eligible Assignments for Group Members
Now we set up eligible membership assignments so that users can activate their group membership through PIM when they need access.
- Go back to PIM > Groups > select your group
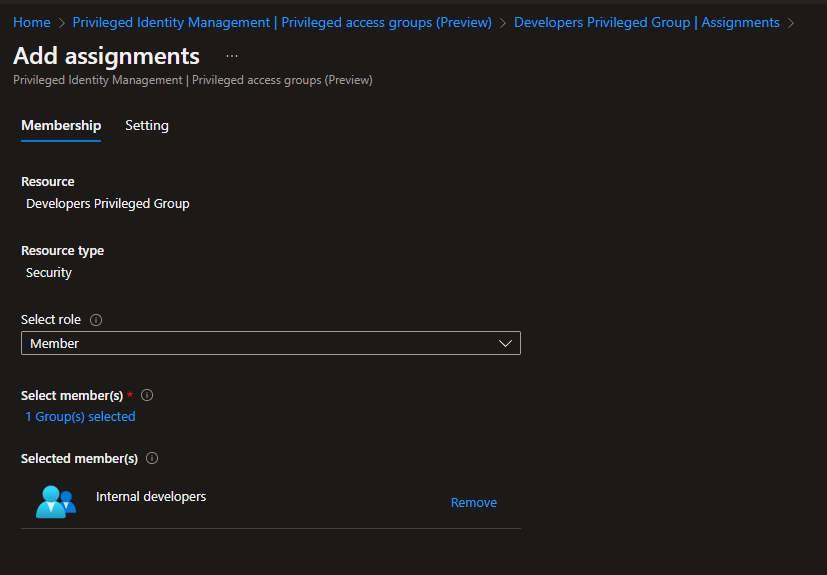
- Click Assignments > Add assignments
- Select Member as the role
- Click Select members and choose the users who should have eligible access
- Click Next
- Set the assignment type to Eligible
- Configure the duration (e.g., 1 year)
- Click Assign
#Step 6: Configure PIM Settings (Optional but Recommended)
You can customize the PIM settings for the group to require approval, MFA, justification, and more.
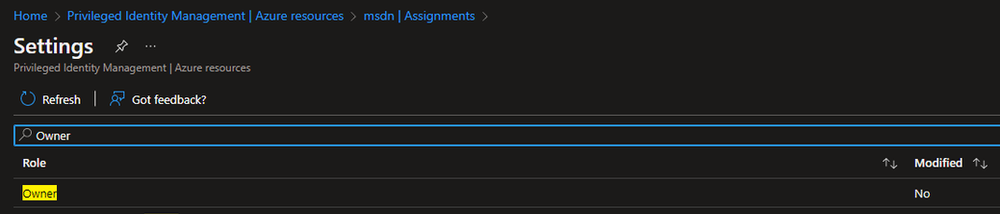
- In PIM, select the group
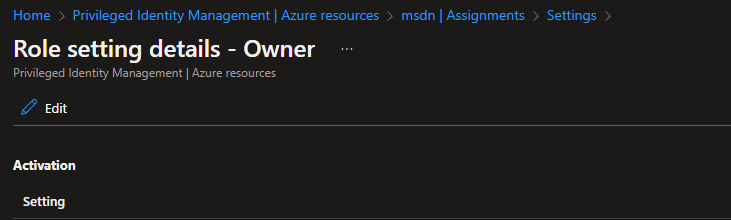
- Click Settings
- Select Member role
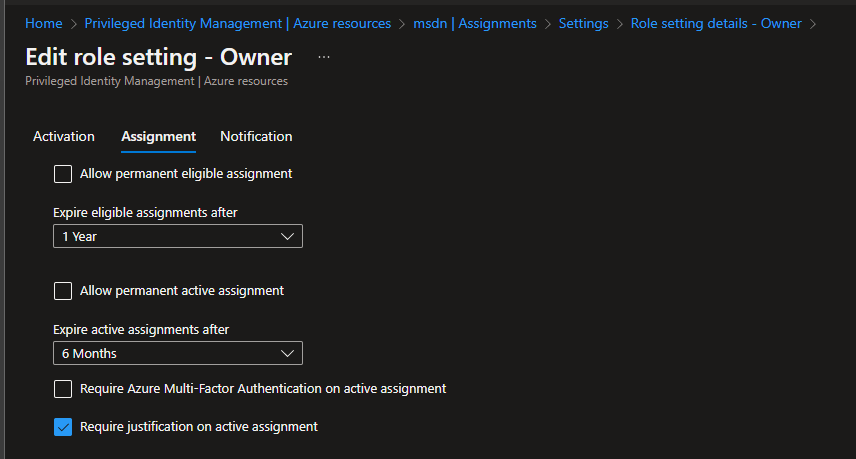
- Configure the desired settings:
- Activation maximum duration — How long the activation lasts (e.g., 8 hours)
- Require justification on activation — Require users to provide a reason
- Require MFA on activation — Enforce MFA when activating
- Require approval to activate — Require an approver to approve the activation
- Click Update

#Testing the Setup
Now let’s test the setup by having a user activate their eligible group membership.
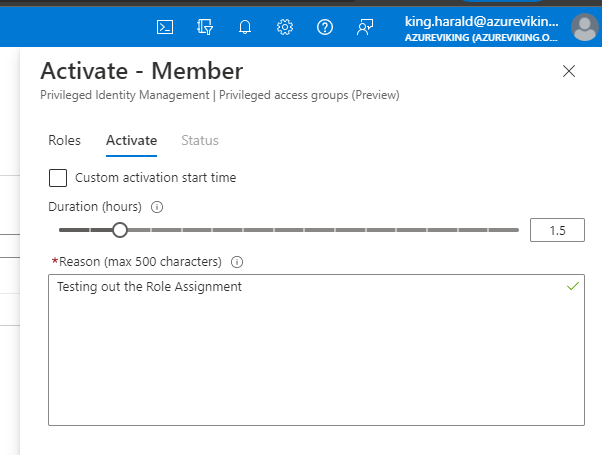
#Activating Group Membership
- Sign in as the test user who has an eligible membership
- Navigate to PIM
- Under Groups, you should see the eligible assignment
- Click Activate
- Provide a justification for the activation
- Set the duration (within the configured maximum)
- Complete MFA if required
- Click Activate
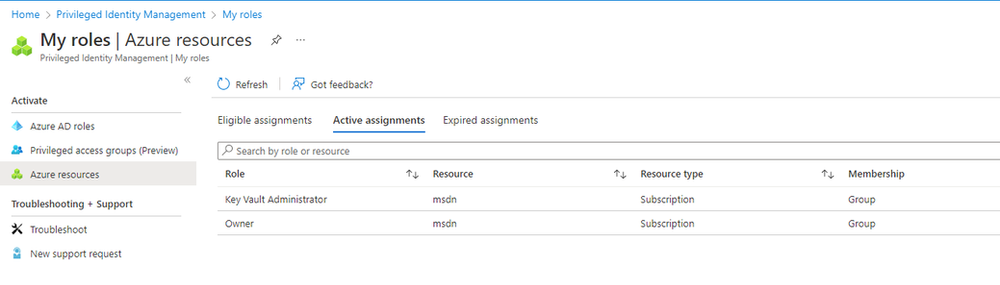
#Verifying Access
After activation, verify that the user has the expected permissions:
- Navigate to the Key Vault in the Azure portal
- Try to access secrets, keys, or certificates
- The user should now have Key Vault Administrator permissions
#Checking the Audit Log
All PIM activations are logged and can be reviewed:
- In PIM, select the group
- Click Audit to see the activation history
- You can see who activated, when, the justification provided, and the duration

#Benefits of Privileged Access Groups
- Simplified management — Manage role assignments at the group level instead of individual users
- Reduced standing access — Users only have elevated permissions when they need them
- Improved auditability — All activations are logged with justification and approval workflows
- Scalability — Easily onboard new team members by adding them as eligible group members
- Consistency — Ensure all members of a team have the same set of roles when activated
- Approval workflows — Require management approval for sensitive role activations
#Conclusion
Privileged Access Groups are a powerful feature in Microsoft Entra ID that can significantly simplify your privileged access management strategy. By combining group-based role assignments with PIM’s just-in-time activation capabilities, you get a solution that is both more secure and easier to manage than traditional individual role assignments.
If you are already using PIM, I highly recommend exploring Privileged Access Groups as a way to streamline your access management and reduce the administrative burden of managing individual role assignments.